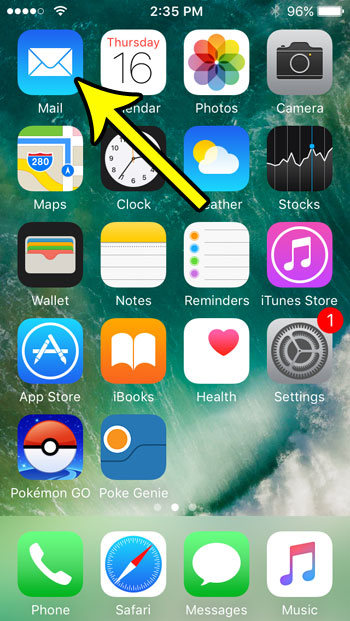
Step 1: Open the Mail app.
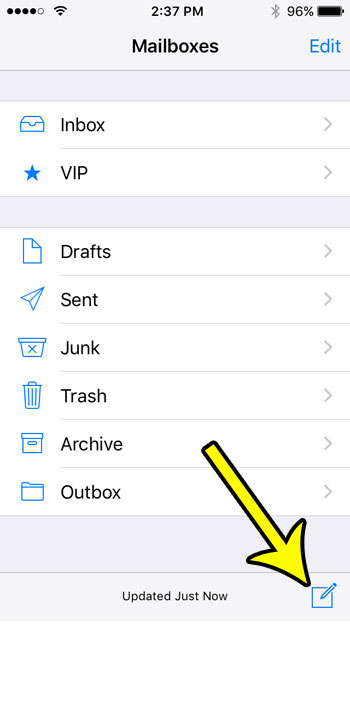
Step 2: Tap the Compose icon at the bottom-right corner of the screen.
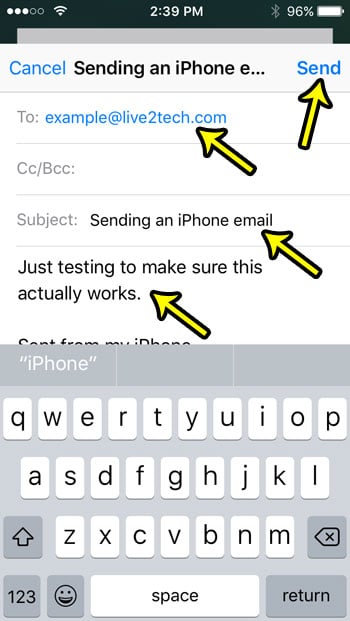
Step 3: Type the recipient’s email address into the To field, enter the subject of the email into the Subject field, then type the content of your message into the message body. Touch the Send button at the top-right corner of the screen when you’re finished.
How to Create and Send an Email from an iPhone SE
The steps in this article were performed on an iPhone SE, in iOS 10.3.2, but these same steps will work in most other versions of iOS, on most other iPhone models. As mentioned earlier, you will need an Internet connection and an email account setup on your iPhone before you are able to do this. You may have already added an iCloud email account to the device during the initial setup with your Apple ID so, if you have sent an email but don’t remember actively configuring an email account on your device, then it’s likely that the email was sent through your iCloud account. You might have noticed that there is a “sent from my iPhone” signature automatically included at the end of the message. You can manually delete that if you want, but that can be tedious to do each time you send an email. A more effective option is to remove or edit the iPhone signature so that you don’t need to add that extra step whenever you want to send an email from your device. He specializes in writing content about iPhones, Android devices, Microsoft Office, and many other popular applications and devices. Read his full bio here.