If you are creating a document that requires a smaller margin than what you are currently using, then it’s possible that change the margin on the document to meet the specifications that you need. Our tutorial below will show you where to find the Margins setting so that you can choose from one of the default options, or specify custom margins.
How to Decrease the Size of the Margins in Word 2013
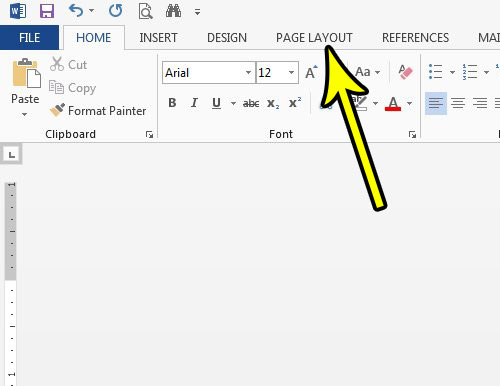
The steps in this article were performed in Microsoft Word 2013, but work in other versions of Word as well, such as 2007, 2010, and 2016. Note that these steps only apply to the document that is currently open. This will not change the default margin settings for future documents, nor will it affect any other existing documents. Step 1: Open your document in Microsoft Word 2013. Step 2: Choose the Page Layout tab at the top of the window.
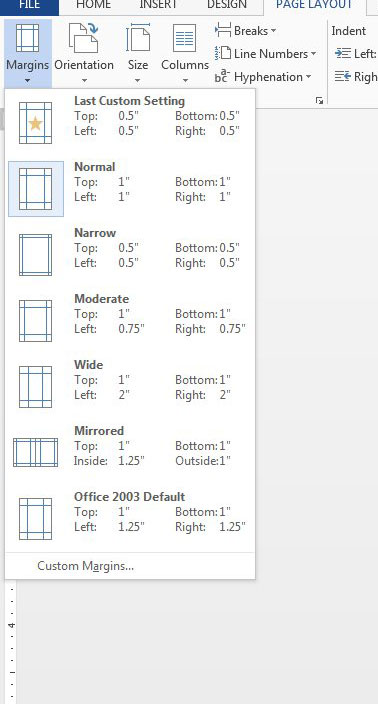
Step 3: Click the Margins button at the left side of the ribbon, then click a margin option that is smaller than the one that you are currently using. If you don’t see an option that you like, you can click the Custom Margins option at the bottom of the menu.
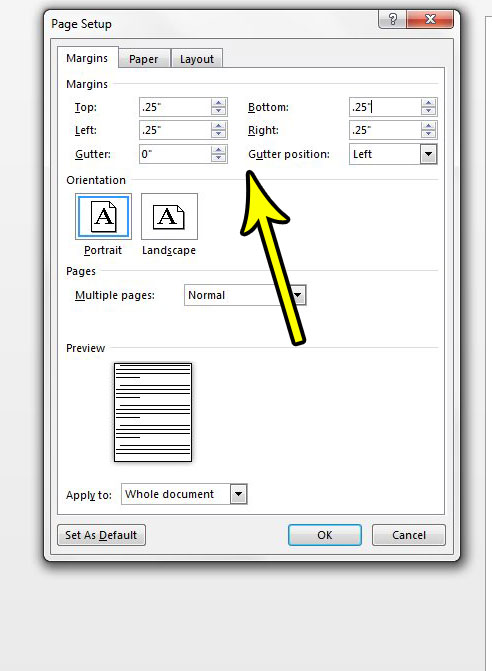
If you chose the Custom Margins option, then you will see the window below, where you can specify the margin size that you want to use.
Note that some printers will have difficulty printing documents with very small or no margins, so it’s possible that this is an issue you may encounter if you go that route. Does the header section at the top of your document contain a bunch of information that you don’t need? Find out how to delete header information in Word 2013 and make that area of the document blank. He specializes in writing content about iPhones, Android devices, Microsoft Office, and many other popular applications and devices. Read his full bio here.