But rather than create two separate presentation files, you might find it easier to simply hide and unhide the individual slides in the slideshow as you need them. This lets you keep your work available in case you need it, but also lets you omit information that isn’t relevant to particular groups. Our tutorial below will show you how to hide slides in Powerpoint 2013. Check out our tutorial on how to hide a slide in Google Slides if you would like to hide slides in that application as well.
How to Hide a Single Slide in a Powerpoint Presentation
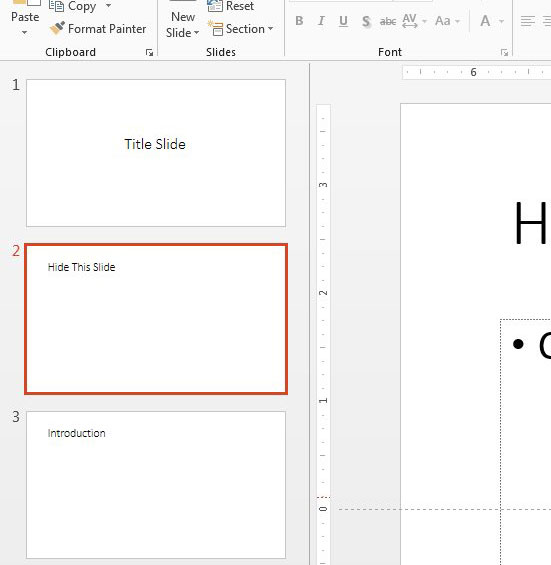
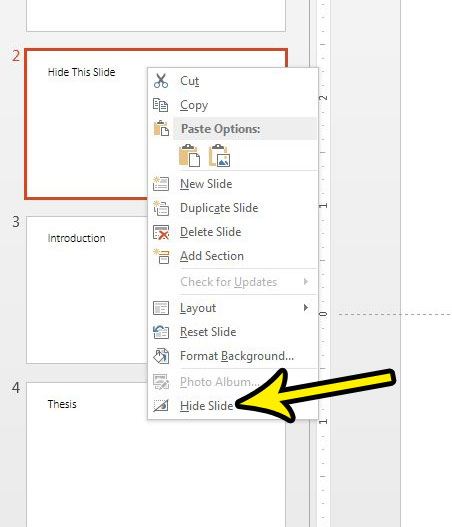
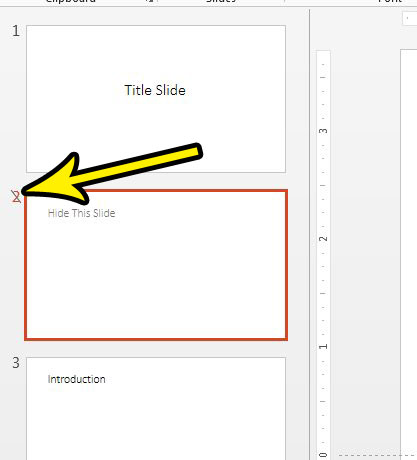
The steps in this article were performed in Microsoft Powerpoint 2013, but will also work in several other versions of Powerpoint. Note that hiding a slide will prevent that slide from being shown in your presentation. Step 1: Open your slideshow in Powerpoint 2013. Step 2: Locate the slide that you want to hide in the column of slide thumbnails at the left side of the window. Step 3: Right-click on the slide that you wish to hide, then select the Hide slide option. Note that hidden slides will still be shown in the column of slides. However, that slide number will have a slash through it. You can unhide a slide by right-clicking it, then selecting the Hide slide option again. Now that you know how to hide a slide in Microsoft Powerpoint you will be able ot control which slides in your presentation are being show to your current audience without needing to manage multiple similar presentation files. Do you have something in one of your slides that you really want to direct your readers’ attention to? Find out how to draw arrows in your slides and point to objects that you have placed in your slides.
Additional Reading
He specializes in writing content about iPhones, Android devices, Microsoft Office, and many other popular applications and devices. Read his full bio here.