You may not be able to increase the size of the text, but you can make it easier to read by adjusting the line spacing. Our tutorial below will show you how to change the line spacing for a text box in Powerpoint 2013 if you need to increase or decrease the amount that is currently being used.
How to Switch to Double Spacing in a Text Box in Powerpoint 2013
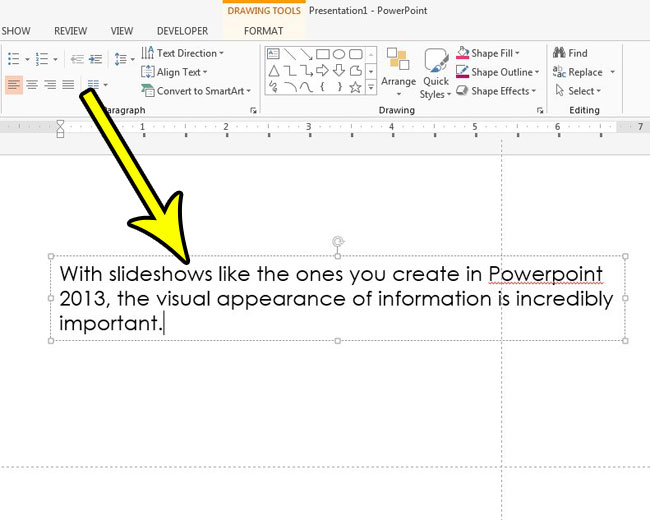
The steps in this article assume that you currently have a text box in Powerpoint 2013 for which you would like to change the line spacing. You will be able to select from several different line spacing options to meet your needs. Step 1: Open your presentation in Powerpoint 2013. Step 2: Choose the slide at the left side of the window, that contains the text box, then click inside that text box to make it active.
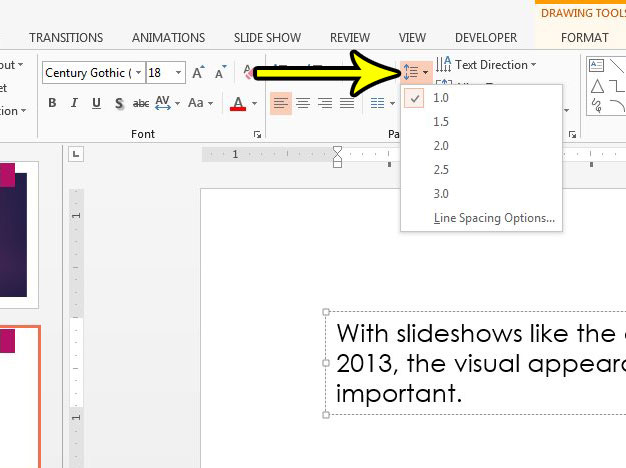
Step 3: Click the Home tab at the top of the window, then click the Line Spacing button in the Paragraph section of the ribbon and choose the desired spacing. If you don’t want to use one of the options listed, or if you want to change other settings concerning the line spacing, then click the Line spacing options button instead of one of the default option.
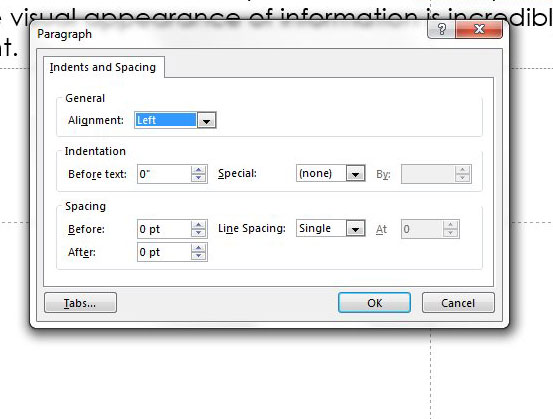
If you selected the Line spacing options button, then you should see the window below where you can make additional adjustments to the settings concerning the line spacing for this text box.
Do you need to position your text box differently because it doesn’t look correct on your slide? Find out how to center a text box in Powerpoint 2013 and use the application to center it on the slide automatically. He specializes in writing content about iPhones, Android devices, Microsoft Office, and many other popular applications and devices. Read his full bio here.