But you might not know exactly which picture you want to use yet, and the deadline is getting close for when the document needs to be finished. Fortunately you can use a placeholder in Publisher 2016 instead, letting you design the rest of the document so that it is finished when you have the final picture ready for placement. Our tutorial below will show you how to use the placeholder in Publisher 2016.
How to Insert a Placeholder for a Picture in Publisher 2016
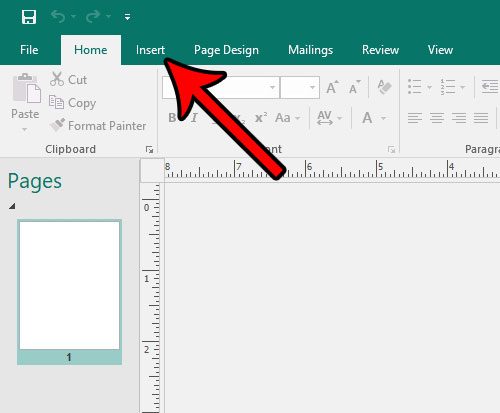
The steps in this article were performed in Microsoft Publisher. Following this guide will allow you to put a placeholder “frame” into your document. This is best used when you know that you will be adding a picture to your project, but you either aren’t sure what that picture will be, or you don’t have it yet. Step 1: Open your file in Publisher 2016. Step 2: Click the Insert tab at the top of the window.
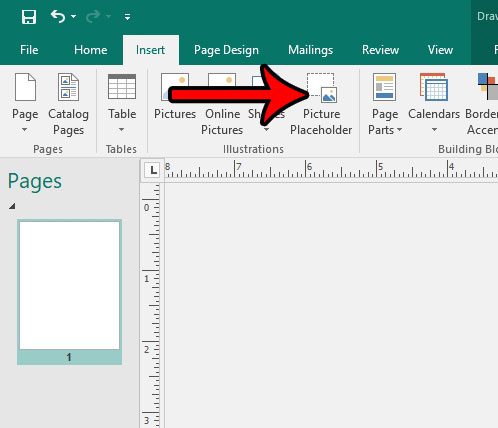
Step 3: Click the Picture Placeholder button.
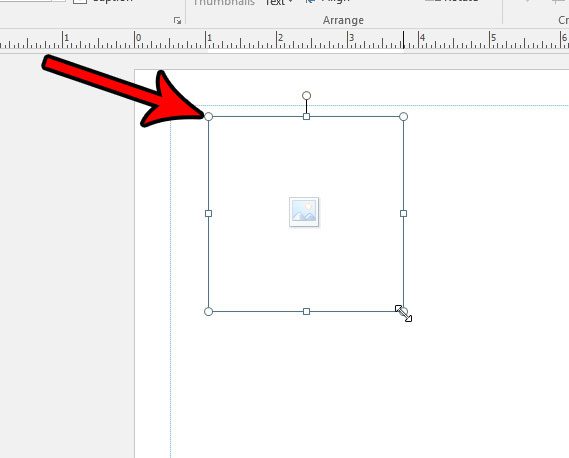
Step 4: Drag the placeholder to the desired location in the document. You can also drag the handles on the placeholder to make it the desired size of the image.
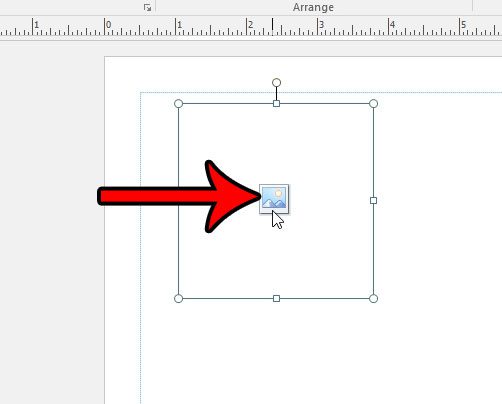
Once you’re ready to add the picture, simply click the picture icon at the center of the placeholder and browse to the image that you wish to use.
If the picture isn’t the same size as the placeholder, you will be able to crop it to fit. Is there a picture in your document that has some parts you want to crop out? Learn how to crop pictures directly in Publisher so that you don’t need to do it in a separate program. After receiving his Bachelor’s and Master’s degrees in Computer Science he spent several years working in IT management for small businesses. However, he now works full time writing content online and creating websites. His main writing topics include iPhones, Microsoft Office, Google Apps, Android, and Photoshop, but he has also written about many other tech topics as well. Read his full bio here.


