How to Disable Outlook 2013 Read Receipts
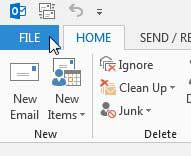
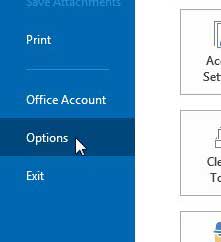
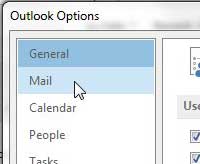
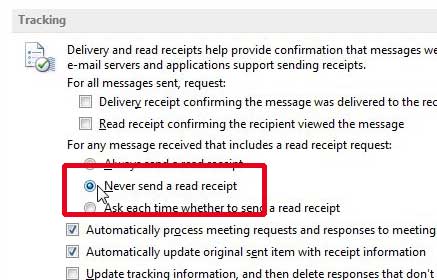
Whatever your feelings about read receipts might be, there are still people that will insist on using them. There are certain fields and individuals where a read receipt can actually be important and useful, but many people that use them are simply trying to find out that you have opened an email that they sent to you, and it is no more important than a billion other emails that are sent every day without read receipts. So continue reading below to learn the necessary steps for stopping read receipt requests in Outlook 2013. When you’re done, check out this guide on creating Outlook distribution lists. Step 1: Launch Outlook 2013. Step 2: Click the File tab at the top-left corner of the window. Step 3: Click Options in the column at the left side of the window. This is going to open a separate Outlook Options window. Step 4: Click the Mail option in the column at the left side of the Outlook Options window. Step 5: Scroll down to the tracking section, then click the option to the left of Never send a read receipt. Step 6: Click the OK button to close the window and save your changes. Have you set up your signature in Outlook 2013? Did you know that you can also include a link to your website or Facebook profile? After receiving his Bachelor’s and Master’s degrees in Computer Science he spent several years working in IT management for small businesses. However, he now works full time writing content online and creating websites. His main writing topics include iPhones, Microsoft Office, Google Apps, Android, and Photoshop, but he has also written about many other tech topics as well. Read his full bio here.
You may opt out at any time. Read our Privacy Policy