This grid is helpful by allowing you to use the rule of thirds, which is a photography technique that is aimed at improving the composition of your pictures. So if you are interested in learning how to take better pictures with your iPad’s camera, then follow the steps below to learn how to turn on the iPad’s camera grid.
How to Turn on the iPad Camera Grid
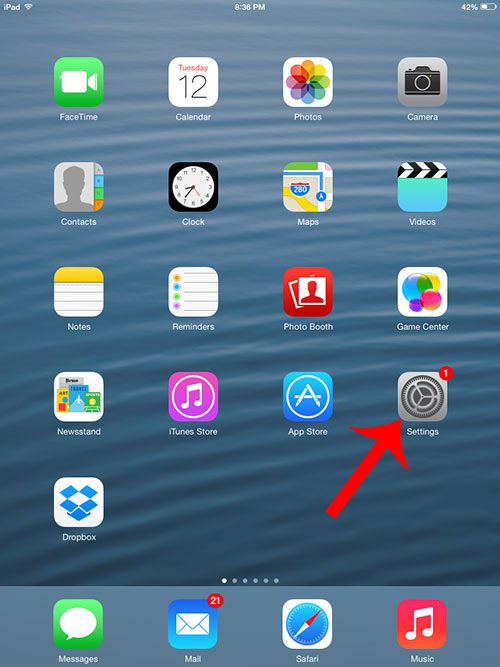
The steps in this article will modify the appearance of your camera screen so that a nine-rectangle grid overlays the screen. This grid will not display on the final picture. It is merely meant as a way to help you set up your pictures more effectively. Step 1: Tap the Settings icon on your iPad’s camera screen.
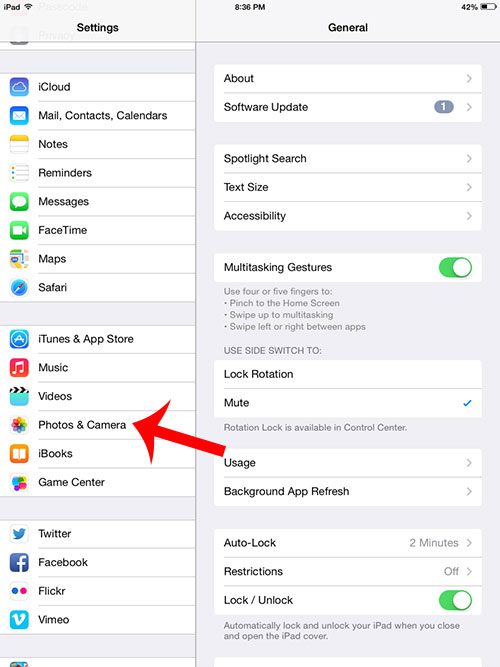
Step 2: Scroll down and select the Photos & Camera option in the column at the left side of the screen.
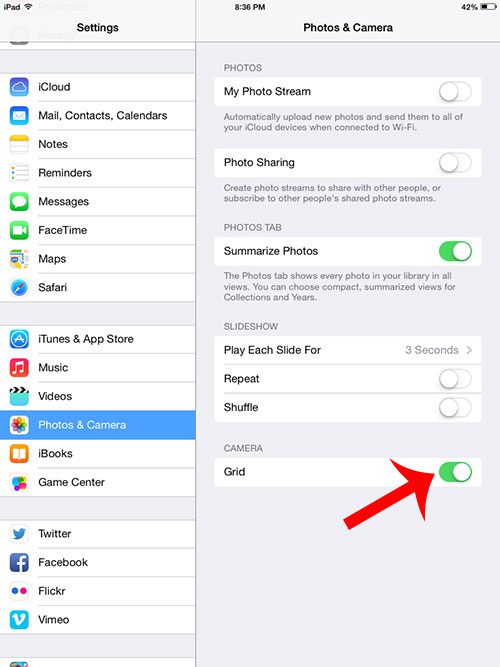
Step 3: Touch the button to the right of Grid in the Camera section at the right side of the screen.
Is there a picture that you found on a website which you want to download to your iPad? Learn how to save pictures to your iPad camera roll from a website so that you can share or edit them later. After receiving his Bachelor’s and Master’s degrees in Computer Science he spent several years working in IT management for small businesses. However, he now works full time writing content online and creating websites. His main writing topics include iPhones, Microsoft Office, Google Apps, Android, and Photoshop, but he has also written about many other tech topics as well. Read his full bio here.
You may opt out at any time. Read our Privacy Policy