Deleting Duplicates in Excel 2010
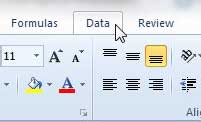
Without using the automatic duplicate removal tool in Excel 2010, you may have toyed with the prospect of using the Find & Replace tool to manually sort through your data. While slower, this is an effective method for deleting duplicate data, provided that you know which duplicates exist. A massive spreadsheet could contain many duplicates of the same data, and might even contain duplicates that you are not even aware of. Continue reading to learn how to use Excel’s dedicated tool to remove duplicates from your file. Step 1: Open your spreadsheet in Excel 2010. Step 2: Click the Data tab at the top of the window.
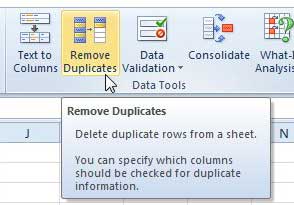
Step 3: Click the Remove Duplicates button in the Data Tools section of the ribbon at the top of the window.
Step 4: Click the box to the left of each column that you want to check for duplicates. For example, if the duplicate data needs to exist in multiple columns, check each column. But if you just need to delete duplicate rows that show up in only one column, then only select that column. For example, in the image below, I could select “Column A” to delete every instance of the name “John,” but I would actually be deleting rows that contained only partial duplicates.
Step 5: Click the OK button to remove the duplicates from the columns that you have selected. After receiving his Bachelor’s and Master’s degrees in Computer Science he spent several years working in IT management for small businesses. However, he now works full time writing content online and creating websites. His main writing topics include iPhones, Microsoft Office, Google Apps, Android, and Photoshop, but he has also written about many other tech topics as well. Read his full bio here.
You may opt out at any time. Read our Privacy Policy